
In this article, we will learn how to use developer Tools to take screenshots.
Why take screenshots using Developer tools?
Taking screenshots is a very common requirement while doing any work in a browser and most of the time you must have installed a very convenient software or browser’s plugin for it.
But, sometimes you may want to take some specific part of the screen like below and the installed software may not provide such options.
- Everything on a page including anything that doesn’t visible on the screen.
- Capture exactly the content of a DOM element.
- Capture specific area of your screen.
Above all requirements can be achieved using chrome screenshot features. moreover, why install extra software if your browser can do it for you, right?
Let’s see how to take screenshots using Chrome developer tools.
Where to find this feature?
This feature is available under the “Run command” option in the developer tools as below.

You can also use the shortcut key after opening the developer tools:
- Windows: Ctrl + Shift + P
- macOS: Cmd + Shift + P
This post mainly focuses on screenshots using chrome developer tools but other browsers like firefox also provide this feature and you can find about it on its official page at https://support.mozilla.org/en-US/kb/take-screenshots-firefox
How to use different screenshot features?
There are four types of screenshots you can take in your browser.
- Only visible screen in your browser.
- Capture full page screen.
- Only specific area of the browser’s screen.
- Screenshot of a particular DOM element/node.
Let’s see how to take all these different kinds of screenshots one by one.
Capture visible screenshot
You can take the screenshot of the currently visible screens in your browser using the “Capture screenshot” option under “Run commands”.
- Open the developer tools and then go to “Run command”.
- Find or search “Capture screenshot” and then click it.
- It will take the screenshot of the visible screen in your browser and save it at your desired location.

Capture full-size screenshot
Sometimes it may happen that you want to take a screenshot of the full page but it is difficult to take multiple screenshots of the visible screen by scrolling the page.
You can take such screenshots using the “Capture full size screenshot” option under the “Run commands”.
- Open developer tools and then go to “Run command”.
- Find or search “Capture full size screenshot” and click it.
- It will take the screenshot of the full page opened in your browser and save at your desired location.

Capture area screenshot
Sometimes you may also want to take screenshots by selecting some area of your screen and you can do this using the “Capture area screenshot” under Run commands.
- Open developer tools and go to “Run command” option.
- Find or search “Capture area screenshot” and click it.
- It will make your screen selectable and you can select and drag the desire area.
- It will then save screenshot of the selected screen at your desired location.

Capture node screenshot
Being a web developer, you may also have come across a requirement to capture the screenshot of a particular DOM element.
And you can do this as well using the “Capture node screenshot” under the “Run commands”.
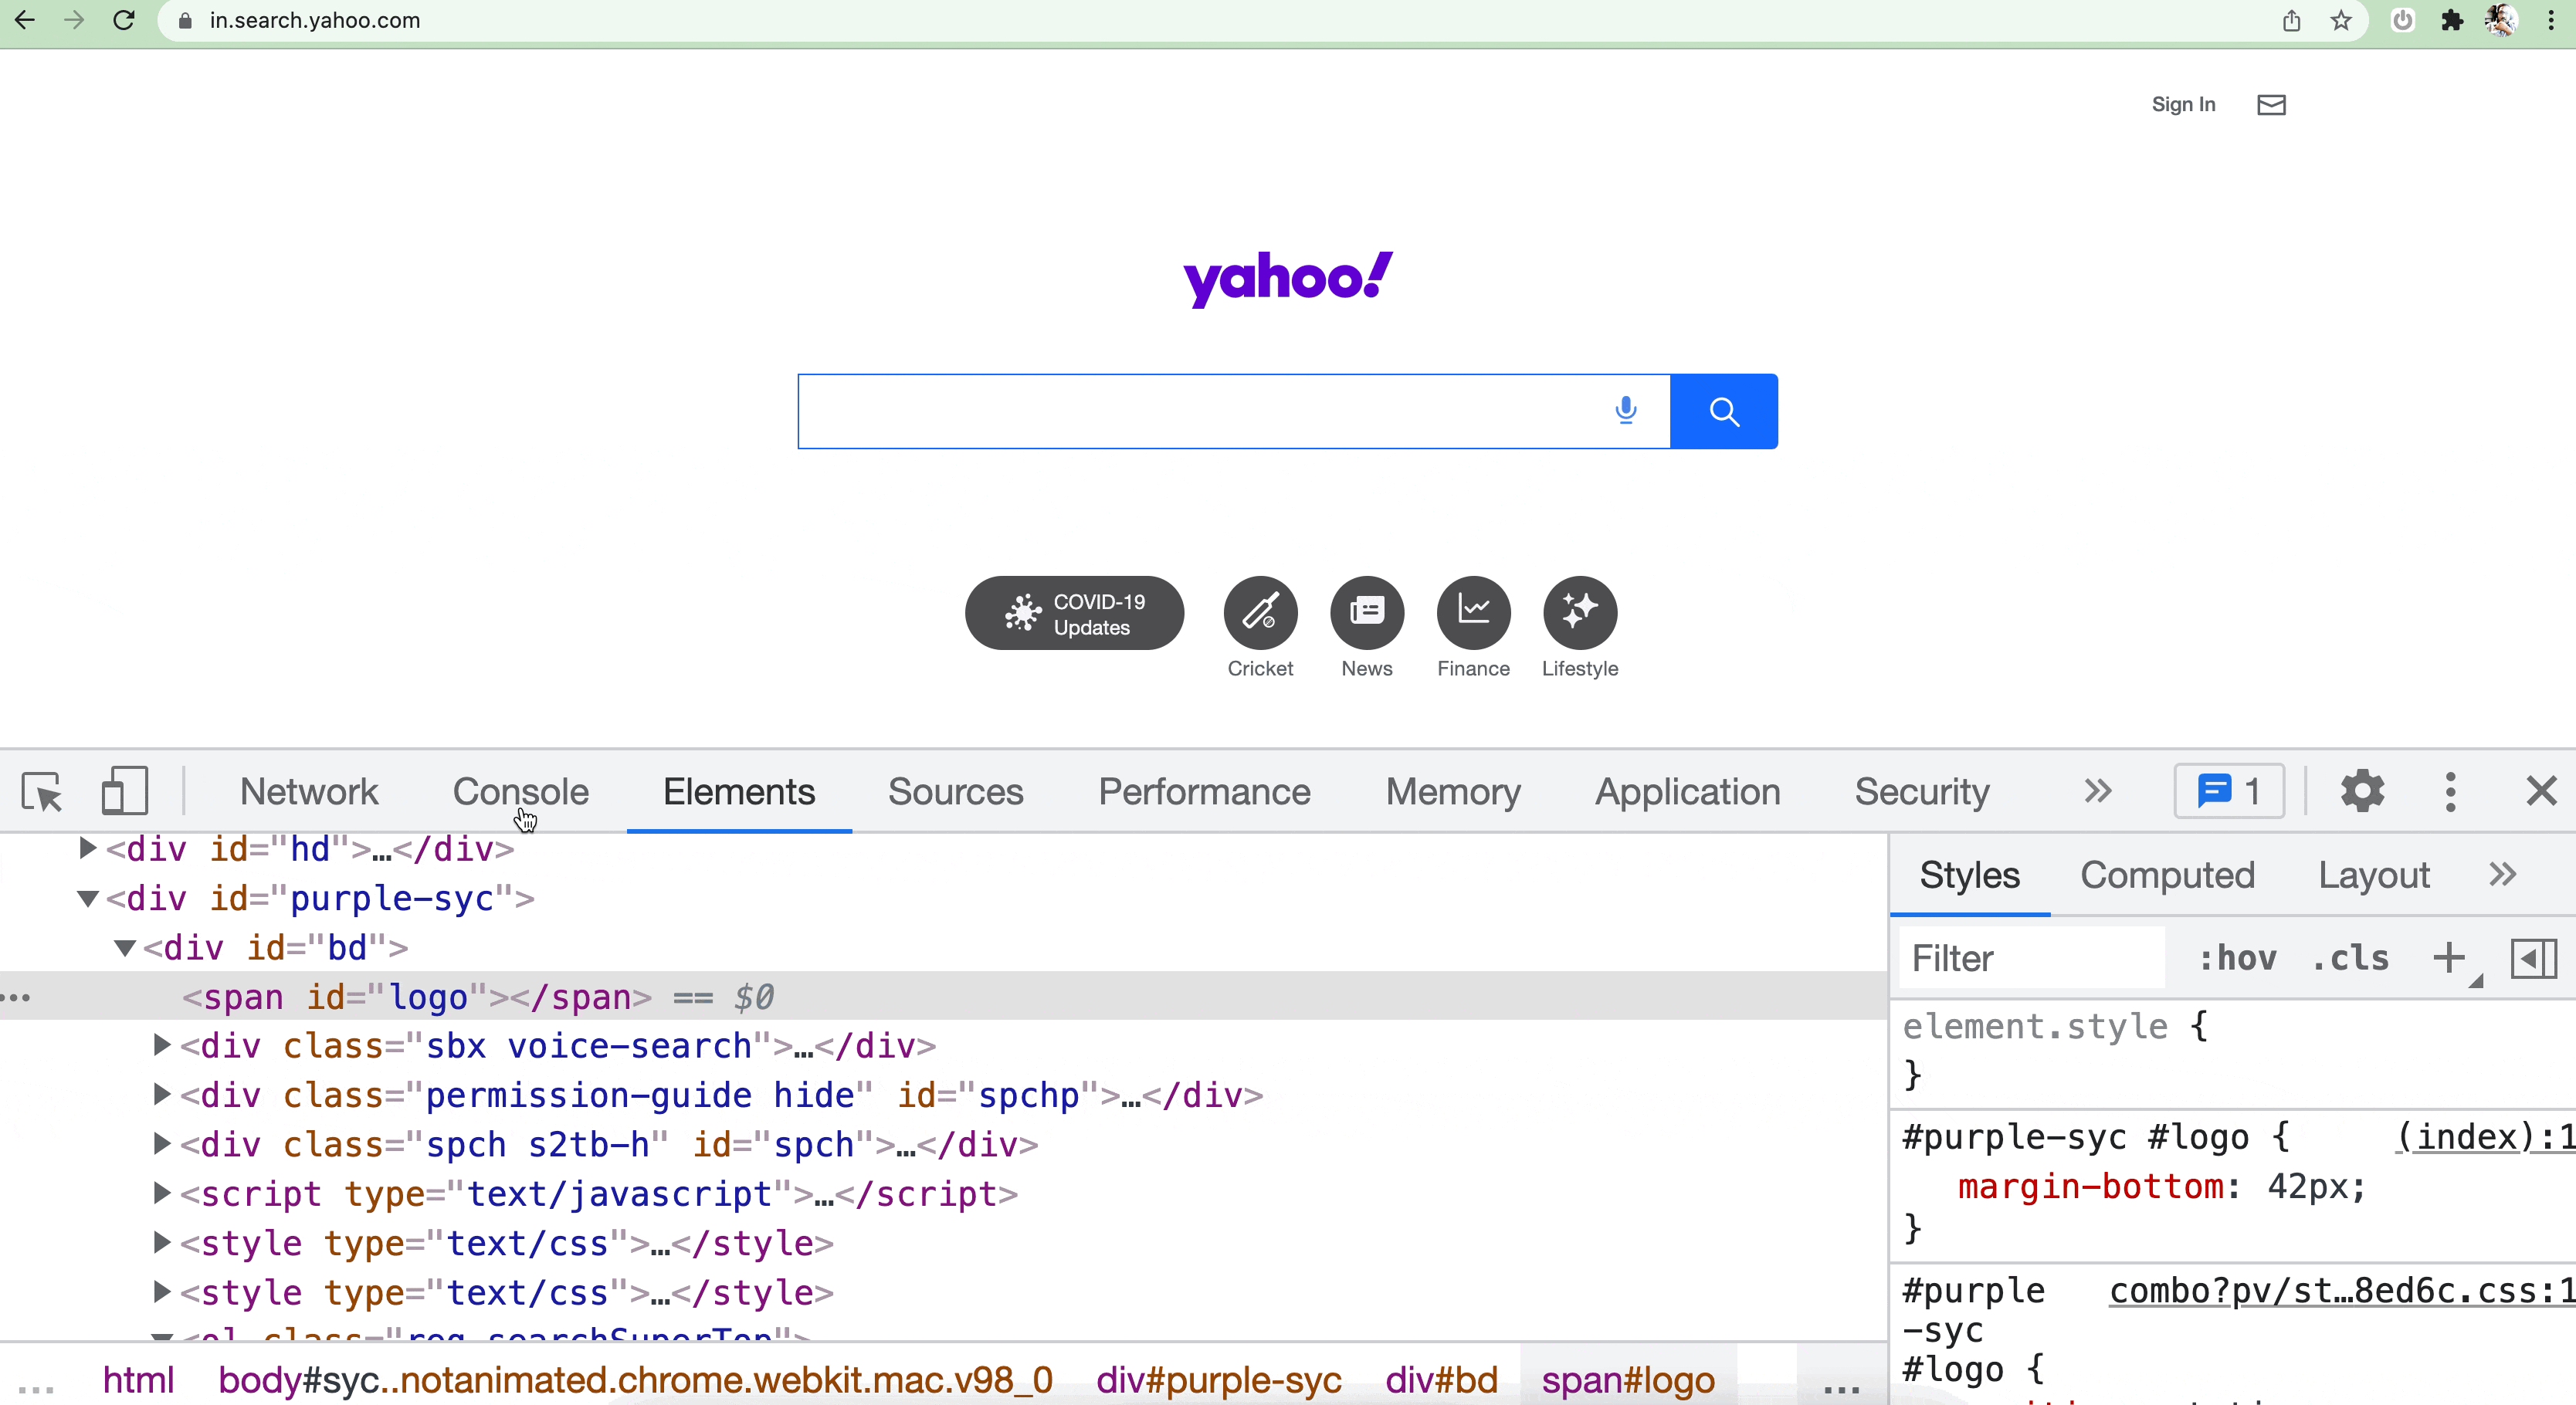
- Open the developer tools and then go to the Elements panel to select the desired node of which you want to take the screenshot.
- Then click on the “Capture node screenshot” option under the “Run command” in your developer tools and click it.
- It will then save screenshot of the selected element/node at your desired location.

You can also take the screenshot of the node directly from the Elements tab:
- Go to the Elements panel in the developer tools.
- Right click on the element for which you want to take the screenshot.
- Click on “Capture node screenshot” from the list of options.
- It will then save screenshot of that element/node at your desired location.
I hope you like this article and helps you to solve your problems.
Visit Techtalkbook to find more related topics.
References
- https://javascript.plainenglish.io/use-chrome-devtools-like-a-senior-frontend-developer-99a4740674
- https://support.mozilla.org/en-US/kb/take-screenshots-firefox